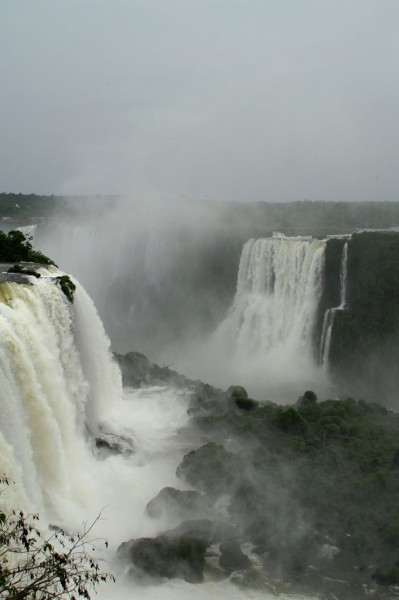
Shooting photos from a helicopter is not your everyday’s experience (even when your name is Philip Plisson). The price for an hour of flight is high enough for ensure that you’ve got all the aces in your hand for a Manhattan island aerial tour, a flight over the Iguazu Falls or a wildlife observation over the Okavango Delta. YLovePhoto gives you its Y-tips to get the best out of these short minutes which will stay as an exceptional photo opportunity.

Copyright Yves Roumazeilles
- Organize your space: A helicopter is a very small space, already quite cluttered. As soon as you climb, set your gear up in a way that will not bother others. Don’t touch the controls if they are accessible, even when handling your bag or its contents. Check before take-off how you can change your lens if you intend to do it in flight.
- Attach everything: A helicopter moves, bends, vibrates and is far from the ground. Make sure the bag won’t move (better, attach it) and make sure that the camera strap is around your neck..
- Open the door: It will depend on the model (and on the pilot) but if it is possible, take a jacket (against the wind) and open the door to have no obstacle between your lens and the subject.
- Watch for the blades: After all, you’ll forget easily about them but the blades can readily go into the frame on a standard or wide-angle shot. Either you want them clearly in (test the shutter speed for better effect), or you want to make sure they do not appear at all.
- Choose your angle: Avoid shooting flat at the horizon (with its atmospheric haze) and take advantage of the overhanging position to try either slightly high angle shots or perfectly vertical ones right under the helicopter.
More than a tip, an advice: Have fun. Shoot as much as you can but keep also some time to watch and inhale. There is a world out of the viewfinder.